Author Archives: Sunshine

How to Keep Your Gardening Tools Clean and Rust-Free

If you love your garden and want it to look prim, keeping your gardening tools clean and well-maintained is essential for any gardener who wants to ensure their equipment lasts and performs at its best.

This article explores the importance of regular maintenance, highlighting its various benefits to gardening endeavours. From basic cleaning techniques to preventing rust, we cover effective methods for removing dirt and debris, sanitising tools, and storing them properly. Plus, discover DIY solutions that can make maintenance easier and more cost-effective. Whether you’re a seasoned gardener or just starting, this guide will help you keep your tools in shape for years.
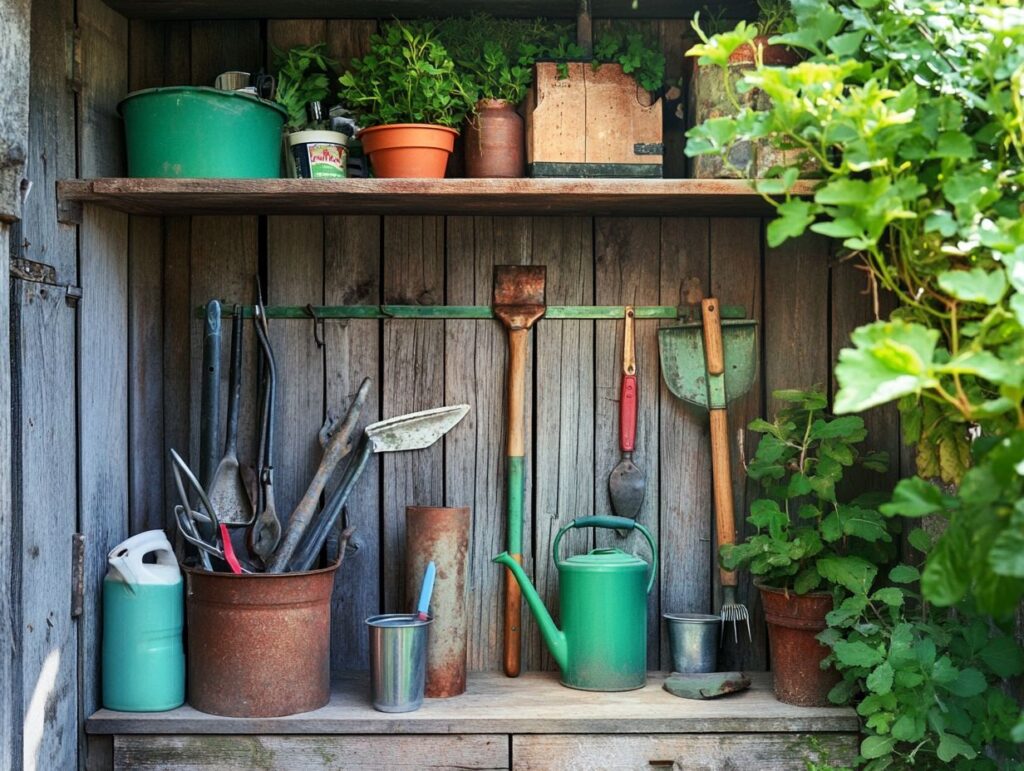
A set of gardening tools in a small wooden shed

Importance of Cleaning and Maintaining Gardening Tools

Cleaning and maintaining your gardening tools is essential if you want them to last and work effectively, especially if you’re passionate about horticulture. Regular upkeep enhances how well your tools function and boosts your garden’s productivity, helping you achieve better results in your gardening efforts.

Leaving tools like trowels, secateurs, and spades idle for too long can collect dirt and corrosion, leading to decreased performance and even some safety concerns. By making maintenance a part of your gardening routine, you can create a safer and more efficient environment that supports healthy soil and plant growth.

Benefits of Regular Maintenance

Regularly maintaining your gardening tools isn’t just a chore; it extends their lifespan and boosts their efficiency, making your gardening tasks smoother and safer. When you take the time to clean and care for your tools, you ensure they last longer and work better so you can get more done in your garden.

Moreover, well-maintained tools help keep you safe by reducing the risk of accidents with worn or damaged equipment. Committing to upkeep can elevate your gardening experience.

For example, regularly sharpening your secateurs achieves cleaner cuts that promote healthier plant growth and make things easier on your hands while you work. Organising your tools in a dedicated storage area keeps them safe from rust and corrosion, especially for metal tools like spades and trowels, boosting their durability.

Safety also receives a significant upgrade when you keep your tools in good shape; dull edges and broken handles are just accidents waiting to happen. By prioritising these care practices, you create a more productive environment, ultimately leading to a thriving garden. Well-cared-for tools are key players in your gardening success.

Basic Cleaning Techniques for Gardening Tools

Mastering some basic cleaning techniques for your gardening tools is key to keeping them functional and looking smart. Knowing the proper cleaning methods can help keep your tools rust-free and always ready to use, whether dealing with stainless steel, plastic tools, or wooden handles.

Tools like seeders, secateurs, and rakes have their cleaning quirks, but the aim is the same: you want them in top condition for all your gardening adventures. Regular cleaning prevents rust from forming and protects your garden’s health by keeping those pesky pathogens at bay.

Removing Dirt and Debris

Removing dirt and debris from your gardening tools is essential to keep them performing well and in good condition.

Cleaning them regularly helps these essential tools last longer and creates a healthier gardening environment. Grab a scrubbing brush and mix some water with mild soap or vinegar; that combination works wonders to cut through grease and organic grime. A filler knife or wire brush can be your best friend for those stubborn stains, especially on metal surfaces.

Try to establish a regular cleaning schedule, ideally after each use. This not only keeps your tools clean but also helps prevent contamination in your soil. Additionally, your next gardening session will be much more enjoyable and efficient when everything is organised and ready to go.

Disinfecting and Sanitising

Disinfecting and sanitising your gardening tools is vital for keeping your garden healthy. The right sanitising solutions can eliminate harmful pathogens lingering on your pruners and trowels, making your gardening experience safer.

Remember to wear protective gloves while you’re sanitising—your hands will thank you for keeping them safe from harsh chemicals and dirt. Regularly disinfecting protects your plants and helps maintain overall garden hygiene, giving you peace of mind while you dig in.

You can try different methods to get the best results, like soaking your tools in a bleach solution or using commercial disinfectants made specifically for gardening equipment. Each method works better for certain materials and tool types, so it’s a good idea to do some research to find the best options for your collection. Sticking to a regular cleaning schedule will help keep the risk of disease transmission between plants at bay.

Remember, wearing masks, goggles, and gloves adds extra protection, ensuring the cleaning process remains effective and safe. By prioritising these practices, you’ll create a thriving garden space free from harmful contaminants.

Preventing Rust on Gardening Tools

Preventing rust on your gardening tools is key to ensuring they last and work effectively, especially when exposed to moisture.

Using rust prevention techniques—such as applying a protective coating or storing your tools in a dry place—can significantly reduce the risk of corrosion.

Remember, metal tools are particularly prone to rusting, so taking proactive measures can save you from costly replacements and help keep your tools in excellent condition for years.

Causes of Rust and How to Avoid Them

Understanding what causes rust on your gardening tools is key to keeping them in tip-top condition. Moisture is the main culprit here; it can lead to corrosion and damage to the metal, especially if you’re not storing your tools correctly. By managing moisture levels and using rust-free storage techniques, you can make your tools last longer and stay ready for use. Being aware of how environmental factors contribute to rust can save you time and money in the long run.

Common sources of moisture include humidity, rain, and even condensation, particularly in garages or sheds that lack proper ventilation. To tackle these issues, consider getting a dehumidifier for enclosed spaces or simply storing your tools in a dry, climate-controlled area.

Cleaning your tools after each use and applying a light coat of oil can create a protective barrier against moisture. Additionally, using effective storage solutions like hanging your tools or opting for breathable covers can enhance airflow, further reducing the risk of rust forming and keeping your gardening tools functional for years.

Removing Rust from Gardening Tools

Removing rust from your gardening tools is key to returning them to life and keeping them looking sharp. Using effective rust removers and treatments, you can rescue those tools that have fallen victim to corrosion and ensure they’re ready for action in your gardening tasks.

If tools like shears and spades sit too long, they can easily gather rust, which can interfere with their performance. Tackling those rust issues sooner rather than later is essential. A bit of effort can dramatically extend the life of your favourite gardening tools.

Effective Rust Removal Methods

Several effective rust removal methods bring your gardening tools back to life. You might be surprised to find that everyday household items like vinegar and bicarbonate of soda work wonders for breaking down rust. They’re eco-friendly options that make tool maintenance a doddle. Plus, polishing your tools after removing rust can boost their corrosion resistance, so your trusty trowels and garden forks stay in top condition for all your gardening adventures.

Try immersing those rusty tools in vinegar for a few hours to kick things off. Vinegar is incredibly effective at dissolving rust buildup—submerge them completely or dab the vinegar on with a cloth for those tricky spots. If the rust is a bit stubborn, mix up a paste with bicarbonate of soda and a splash of water. This gentle abrasive solution can work wonders; just spread it on the rust spots and gently scrub with steel wool or a soft brush until that rust lifts away.

After you’ve rinsed and dried everything thoroughly, don’t forget about polishing. A good-quality metal polish restores the shine and forms a protective layer. This keeps future rust at bay, ensuring your tools are ready to tackle gardening tasks for many seasons.

Storing Gardening Tools Properly

Proper storage of your gardening tools is key to keeping them in top condition and extending their lifespan. Organising your tools well and storing them in a weatherproof location, like a garden shed, can avoid rust and damage from the elements.

Hanging tools on a pegboard or using storage boxes enhance your organisation skills. This way, you’ll easily access the right tools while keeping them safe from moisture and contaminants.

Tips for Long-Term Storage

A few key strategies can make a difference when storing your gardening tools for the long term. Applying a protective coating to your metal tools will help prevent rust and corrosion while taking a break. It is also essential to ensure your storage area is dry and well-ventilated since moisture is a major culprit in rusting. These simple steps will enhance tool preservation and ensure they are ready for gardening season.

Another essential task is performing regular maintenance before putting away your tools. This means sharpening blades, tightening any loose screws, and cleaning off dirt and debris that can lead to wear and tear.

Consider using a silicone-based spray to add an extra layer of protection against moisture. Additionally, store your tools in a manner that keeps them from bumping into each other, which will help prevent scratches and dents. Keep them off the ground with hooks or shelves to improve air circulation if possible.

These efforts extend the life of your tools and make returning to gardening much smoother and more efficient.

DIY Solutions for Cleaning and Maintenance

You can whip up some effective and environmentally friendly DIY solutions for cleaning and maintaining your gardening tools. Using everyday household items, you can create homemade cleaning solutions that clean and preserve your tools without harsh chemicals.

Think vinegar mixtures and bicarbonate of soda scrubs—these eco-friendly cleaners can be real lifesavers in your tool maintenance routine. This way, you’ll keep your gardening essentials in top condition while doing your bit for the planet.

Homemade Cleaning Solutions

Homemade cleaning solutions can completely change the game for keeping your gardening tools in top condition. They offer effective, eco-friendly alternatives to commercial products packed with chemicals. Simple ingredients like vinegar and bicarbonate of soda can be mixed to create powerful cleaning agents that tackle dirt and rust without harmful substances. By adding these homemade solutions to your tool care routine, you’re helping the planet and ensuring your tools are always ready for your next gardening adventure.

Make a vinegar-based solution by mixing equal parts of white vinegar and water in a spray bottle. This handy cleaner doesn’t just wipe away grime; it also helps reduce rust build-up when used regularly. For those stubborn rust spots, a soda and water bicarbonate paste can save the day. Apply it to the affected area, let it sit for a few minutes, and then scrub gently with a brush.


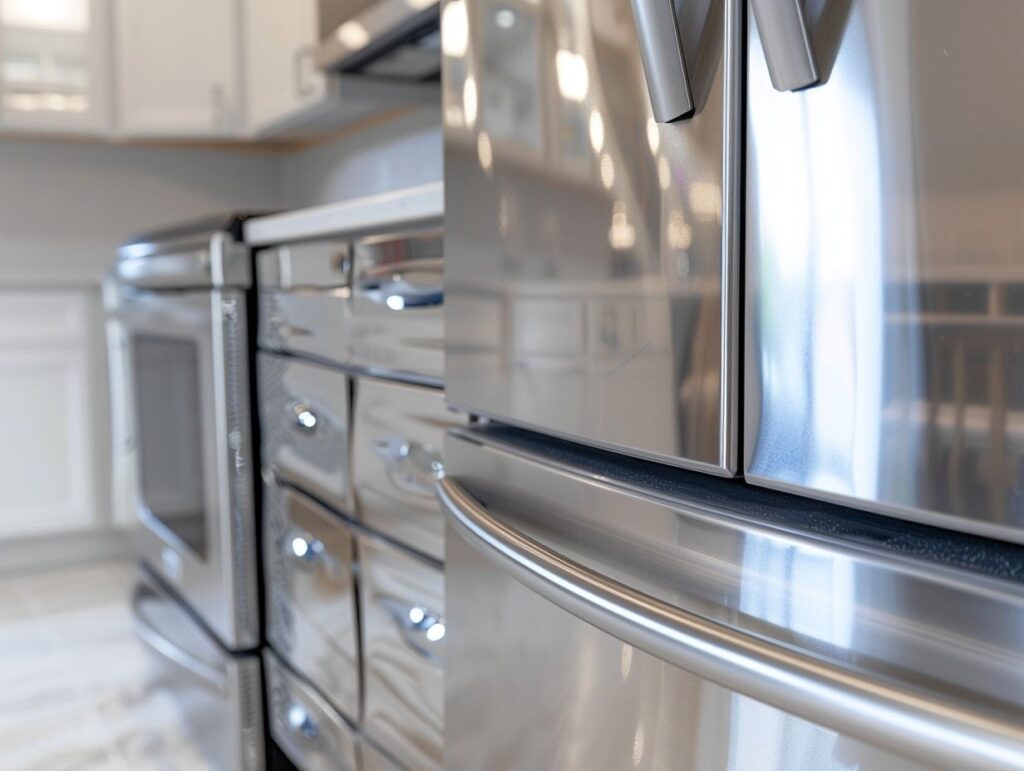
How to Clean and Maintain Stainless Steel Appliances

Do you know how durable and sleek stainless steel appliances are, like the cool kids on the block? Let’s see why they’re such a hit, from their long-lasting quality to that modern vibe they bring to your kitchen.

We’ll discuss keeping those stainless steel beauties sparkling clean, from everyday household goodies to specialised cleaners. I’ll share tips on handling stains and scratches like a pro and some savvy long-term maintenance moves to shield against rust and corrosion.

Whether you’re into natural cleaning hacks or leaning towards the pros, we’ll explore alternative ways to tackle those stubborn stains. Come along as we journey through the realm of cleaning and caring for stainless steel appliances to keep your kitchen looking super fresh.

The Benefits of Stainless Steel Appliances

The Benefits of Stainless Steel Appliances

When you’re looking for appliances that can handle the wear and tear of everyday kitchen chaos while still looking stylish, stainless steel is the way to go. It offers the perfect mix of durability and aesthetics that many households love, giving your kitchen a sleek, modern vibe that can withstand whatever you throw at it.

Durability and Aesthetics

When looking for kitchen appliances that can handle everything, stainless steel is the way to go. These beauties are not only tough and stylish, but they also keep those pesky fingerprints and watermarks at bay, always looking shiny and new.

Stainless steel appliances don’t just look good – they’re built to last. They bring a sleek, modern vibe to any kitchen and keep their charm for the long haul. With their spotless shine that repels smudges and stains, cleaning and maintaining them is a breeze. And hey, they’re not afraid of a bit of wear and tear, thanks to their resistance to corrosion and rust. These tough guys will stay looking fresh with barely a sign of ageing, no matter what you throw at them.

Using Basic Household Products

Standard Cleaning Methods for Stainless Steel

Understand the standard cleaning methods for stainless steel to keep your appliances looking shiny and lasting longer, whether using everyday household products or specialised cleaners.

Using Basic Household Products

To clean and maintain your stainless steel surfaces, you can rely on essential household products like vinegar, bicarbonate of soda, and a microfibre cloth.

To get started, dampen your microfibre cloth with plain white vinegar. Then, gently wipe down your stainless steel surface, following the grain to remove any surface dirt or grime.

Next, sprinkle some bicarbonate of soda on your cloth and give the surface a gentle scrub to tackle those tougher stains. Remember to rinse the cloth and wipe the surface clean afterwards.

Finish up by buffing the stainless steel with a dry microfibre cloth to bring out its shine. This simple cleaning method prevents scratches and keeps your stainless steel appliances looking sleek and stylish.

Tips for Maintaining a Spotless Surface

Specialised Stainless Steel Cleaners

To keep your appliances shining bright, specialised stainless steel cleaners and polishes are the way to go. They’re made to make your appliances sparkle and help them last longer, and all you need to apply them is a gentle cloth.

These cleaning products do more than remove pesky fingerprints and smudges—they also protect against future stains and corrosion. And don’t forget: When you’re cleaning, follow the stainless steel grain for the best results.

You’ve got some great options, like the Weiman Stainless Steel Cleaner and Polish and Bar Keepers Friend Stainless Steel Cleaner & Polish. These products are top-notch at restoring stainless steel’s shine and leaving you with a streak-free finish.

Preventing and Addressing Stains and Scratches

To keep your stainless steel appliances looking smart and lasting longer, you must proactively prevent and deal with stains and scratches.

Tips for Maintaining a Spotless Surface

You’ll want to give your stainless steel appliances some regular TLC to keep them looking sleek and shiny. Buffing them up to remove watermarks and pesky fingerprints will quickly make them sparkle.

Here’s a handy tip: Reach for a gentle cleaner or polish specially made for stainless steel surfaces. It’ll help keep your appliances in tip-top shape.

Remember to follow the steel’s grain when buffing out fingerprints and watermarks. This will prevent accidental scratching of the surface.

Another great way to keep that shine intact is to do a quick wipe-down with water and mild dish soap.

Avoid harsh chemical cleaners, though. They can do more harm than good to your stainless steel finish in the long run.

Adding these simple yet effective maintenance steps into your routine will make your stainless steel appliances look brand new for years. Go on, give them that extra shine they deserve!

Protecting Against Rust and Corrosion

Removing Stubborn Stains and Scratches

Stainless steel surfaces can be challenging to clean, especially when stubborn stains and scratches are present. But fear not! With the proper cleaning techniques and tools, like steel wool, you can restore your appliance’s shiny look.

Dealing with those tough residues on stainless steel requires a delicate touch to avoid causing any damage. One trick that works like magic is making a paste using bicarbonate of soda and water. Gently rub it on the stained spot with a soft cloth – the gentle abrasive action helps lift the residue without leaving scratches. And for those extra stubborn stains, try a mix of vinegar and water to break down the residue before wiping it away with a clean, damp cloth. Remember to handle it carefully to remove those residues without harming the surface.

Long-Term Maintenance of Stainless Steel Appliances

To keep your stainless steel appliances in top shape, you must maintain them regularly and take care of them to ensure they stay looking great and last as long as possible.

Protecting Against Rust and Corrosion

Protecting your stainless steel appliances against rust and corrosion is critical. Adding a protective coating can give them that extra armour they need.

You must prevent rust and corrosion on your stainless steel appliances. A simple yet effective way is to give them a regular scrub with mild detergent and warm water. This helps eliminate any dirt or grime that could spell trouble down the line.

Consider splashing out on a top-notch protective coating explicitly made for stainless steel. It protects against moisture and other nasty stuff that can cause corrosion.

Make it a habit to inspect your appliances occasionally for any signs of wear and tear. Catching any corrosion early on can save you from bigger headaches later.

Regular Cleaning and Maintenance Schedule

Establishing a regular cleaning and maintenance schedule is crucial to keeping your stainless steel appliances looking their best and working efficiently. Consistency is vital when it comes to caring for them.

To set up an effective cleaning routine:

  1. Try designating certain days each week to give the surfaces a good wipe down using a mild detergent and a soft cloth.
  2. Remember to use a stainless steel cleaner to remove any fingerprints or smudges.
  3. Don’t overlook the little details like cleaning the crevices and handles.

By sticking to a regular care routine, you can prolong the life of your appliances and maintain their sleek appearance.

Alternative Cleaning Methods for Stubborn Stains

When you’re faced with stubborn stains on your stainless steel appliances, consider trying out alternative cleaning methods using DIY and natural cleaners.

Using Natural and Homemade Cleaners

When cleaning your stainless steel appliances, consider using natural and homemade cleaners like vinegar and bicarbonate of soda. Vinegar’s acidic properties make it great for dissolving grease and grime on stainless steel surfaces. Mix equal parts water and vinegar in a spray bottle to make a vinegar cleaning solution.

Spray this solution onto the stainless steel surface and wipe it clean with a microfibre cloth, following the grain to avoid streaking. Bicarbonate of soda is a gentle abrasive that can tackle tough stains. Create a paste by combining bicarbonate of soda with water and applying it to the stained areas. Gently scrub the area with a soft cloth before rinsing thoroughly for best results.

Professional Cleaning Services

When you hire professional cleaning services, you get a deep sanitising and disinfecting treatment for your stainless steel appliances that DIY methods can’t match. They bring their know-how and specialised tools to tackle stubborn grime and bacteria lurking in those hard-to-reach spots, creating a healthier home environment for you and your loved ones.

Their organised approach ensures every surface is thoroughly cleaned and polished, extending the life of your appliances. By letting the pros handle the job, you save time and energy while basking in the peace of mind of having a spotless, germ-free kitchen.

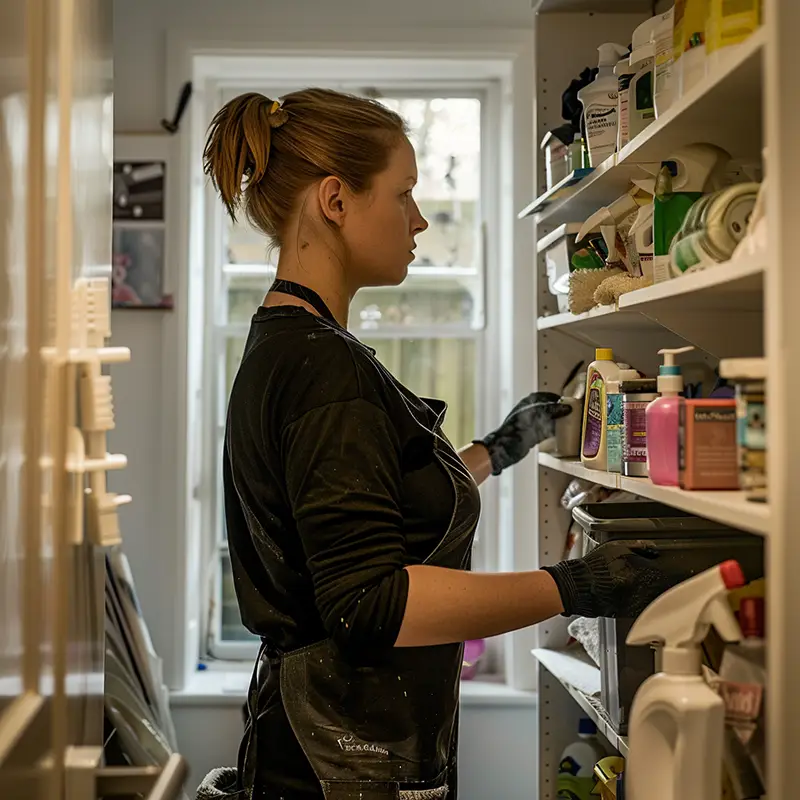
Domestic Cleaner Dusting Shelves in a London House

The Six Step Surface-cleaning Process

This article will take a closer look at the six steps in the surface-cleaning process and why each step is integral to overall success. We will also provide a detailed description of each stage and why it is essential to provide your home or office building with the deep, thorough cleaning it needs and that you, your family, friends and colleagues deserve. 

Stage 1: What happens in the pre-cleaning phase? 

This step lays the foundation for how effectively you can clean the area. Good pre-cleaning will remove most of the bulk dirt and debris from contaminated surfaces that require thorough cleaning. Although many people believe this step is unnecessary, most cleaning professionals assure us it is necessary. 

Maid in Blue Uniform Tidying Shelves

So, how important is the pre-cleaning step in the cleaning process? Pre-cleaning drastically reduces the number of contaminants in the home or workplace. Pre-cleaning in the workplace is also directly related to increased worker satisfaction because they feel much safer in a cleaner environment. Remember that the more you pay attention to this step, the easier the rest of the cleaning process will be for you. 

Stage 2: What happens during the primary cleaning step? 

It is another important aspect of the cleaning process. Once you have completed the pre-cleaning step, it is time to use detergents and other cleaning agents to remove any remaining dirt and debris from the surfaces. If you have done your pre-cleaning correctly, you will quickly remove any remaining dirt with a floor mop or cloth for all other surfaces. 

That also gives your home a fresh smell and sparkling look. People tend to feel much more comfortable in clean spaces. It is valid both at home and in the office. A cleaner work environment improves employees’ sense of health and well-being. Microbes and bacteria grow in a dirty environment, and the main phase of the cleaning process is the first step towards eliminating these contaminants. 

House Cleaning Lady Dusting Books

Stage 3 – How to properly rinse the area? 

The main phase of the cleaning process usually leaves behind some detergent or other cleaning agents. Here, good rinsing comes into play. This step requires you to wipe your freshly cleaned surfaces with a rag and hot water. You can also do the same with a mop and hot water to remove any detergents that may be left after you have finished cleaning. 

This step is also crucial for your family, friends or colleagues’ safety because it prevents the residual accumulation of detergents over time. Good rinsing helps optimise the cleaning process and is an essential step towards achieving a higher standard of cleaning. While cleaning is the removal of dirt and other contaminants, rinsing is the removal of detergents that have the potential to accumulate over time. 

Stage 4: What is involved in the disinfection phase? 

While each step of the cleaning process is significant, the disinfection step is perhaps the most important. It directly attacks the microbes and bacteria that lurk in your home or office space. 

Home is not the only place where bacteria lurk. They are also widespread in the workplace. According to research, over 10 million bacteria are in the space where your hand rests on your desk. These microbes and bacteria can be directly responsible for the eventual illness. Be sure to disinfect with heat or a chemical disinfectant, which effectively destroys any hidden microorganisms on all your surfaces. 

Stage 5: What is the purpose of the last rinse? 

The rinsing phase of the cleaning process is so important that we recommend doing it twice. The purpose of the last rinse is to remove all chemical disinfectants that remain after the disinfection phase. If not properly and thoroughly rinsed, these chemicals can cause problems for people living or working in the area you have just cleaned.  

Just like in the first rinsing step, the last rinsing should end with clean, hot water and a clean towel. If you use clean towels and hot water during the final rinse, you only partially remove all traces of disinfectants that can cause serious harm if accidentally swallowed. After finishing the last rinse, your surfaces should be brilliantly clean and safe for everyone with whom you share the space. 

Step 6: How to ensure that you did the drying step correctly? 

The drying step is the last in the cleaning process. After completing the previous five steps, make sure you use a clean, dry cloth to remove any remaining water from all of your freshly cleaned surfaces. You can use a mop to dry all the floors you have just wiped and rinsed. You can use a fan to dry the flooring or air surfaces. We recommend using clean, dry towels instead of air drying unless you have the luxury of letting the floors dry the whole night. 

The most crucial reason for drying all the areas you have cleaned is that mould and bacteria grow in wet areas. Safety is another critical reason to ensure that all surfaces are adequately dried. Wet areas can cause slipping or falling, leading to severe injuries. So, dry completely all the surfaces you have just cleaned. 

Conclusion 

If you want to ensure you clean your home or office properly, you must follow all six cleaning steps. The first thing you need to do is pre-clean all your surfaces in this process. Then, you will continue with the main stage of cleaning. After finishing the basic cleaning, you must rinse the detergents and cleaners from these areas. You will then need to disinfect your home or office building. This step is the most important because it eliminates almost all germs and bacteria. 

That is followed by a final rinse, ensuring you have removed all the disinfectants you have used. Failure to follow these steps can lead to serious health risks. The drying stage is the last step in the cleaning process. 

After completing all six steps, you will have a sparkling home or office to share with family, friends and colleagues proudly. 

Affordable Home and Office Cleaning Services

One of the right decisions you can make for the good of your family is to hire a cleaning service that can take good care of your home and business. Many homeowners overlook the importance of hiring cleaning services because they want to save money.
Saving money will endanger your family’s health. The natural air circulating in your home should be as good and clean as possible.

Keeping your carpet and furniture clean is essential if you know this information. Are you looking for the perfect company to make your house clean and safe? Some companies will turn your old neglected upholstery into a brand new one and make your home a haven for the whole family. Cleaning the house will meet your needs, no matter what they are. No-fuss and awkward steps. The friendly staff will meet your needs without delay. The company can quickly come to you, especially if you are around. They have many employees who can make the job easier.

The house cleaning company can offer cleaning of homes and offices. Home cleaning includes upholstery and carpet cleaning. An affordable cleaning service can provide special equipment for cleaning your upholstered furniture. If you leave your upholstery unattended for a long time, it will look worn and old. If you want to bring your upholstered furniture back to life, you must hire a company. The same goes for office upholstery cleaning. More and more offices use upholstered furniture for its comfort, but it isn’t easy to maintain, so many companies hire cleaners.

The carpet is one of the most challenging things to clean inside, apart from upholstered furniture. Carpet services are also crucial, so it’s a good idea to hire a company that can do it quickly. Cleaning companies use various methods to ensure that they will thoroughly clean your carpets at home and in the office.

Professional home cleaning ensures that your home is spotless. You can book an online cleaning service for your home. If you have a maid who comes to clean your house two or three times a week, your house is clean. However, no matter how thoroughly you clean your home, it is only partially clean. That is not your fault because the actual cleaning is possible only through a professional home cleaning service.

A professional home cleaning service works effectively and will only take as long as it takes to clean your home, ensuring that quality is maintained.

How this works is relatively easy to understand – visit the online directory where you book your home cleaning. After making an appointment, the house cleaning service contacts you and visits you to clean your house. Once they do the work, you pay them according to the tariff and then evaluate their service on their website.

Here are some benefits of this way of cleaning your home.

  • You can find your home cleaning service in one place – no need to search the internet for individual home cleaners.
  • You can book services from your home, office, and even when you’re on the go.
  • Every professional who cleans your home is checked, which means that they can provide the right kind of service, and you are also safe when the cleaners are in your home.
  • You can demand a refund, and you will receive it without any questions if you are not pleased with the work done.

One of the critical elements of using such a service is leaving feedback after work. It will help the team get more work if they have done it well for your home.

Regular cleaning through a professional home cleaning service is a good idea because this is the actual home cleaning you do.

Cleaning involves various daily tasks essential to keeping your house alive and attractive. Although we take hours to clean our house, we can rarely say that we clean perfectly. We sometimes hire a maid to care for our household, and cleaning needs to solve this task. But still, we participate in monitoring and training them and repeatedly remind them of our specific needs. This option is expensive and makes you commit to housework, even if you pay.

Getting a home cleaning company frees you from all your work, and you come home late when your place shines. Home cleaning companies meet your individual needs. They come with professional and qualified home cleaning products that work best. These house cleaners use the latest technologies and cleaning tools, such as filter vacuum cleaners, microfibre towels, etc., to completely clean the house, satisfy you and impress everyone who visits your home. Allowing an excellent company to deal with your cleaning will ensure that your home will be tidy and clean at the right time, and you can quickly go ahead with your plans. It’s a pleasure for them to give you the best of what they offer, so you can trust them whenever you need them.

Cleaning is tedious work that these house cleaners can do quickly, such as cleaning carpets, floors, upholstery, and cleaning your furniture. They efficiently handle more complex tasks, such as cleaning fixed bodies, sewers, and carpets, removing stains, and eliminating insects, bacteria, and germs. They also clean the kitchen, household appliances, pool, closet, etc.

These companies have different plans for different budgets, so you don’t have to worry about how much money you will invest. These cleaning services can offer you the genuine joy of living in a clean house and the opportunity and freedom to spend your time constructively. You can spend more time with your children and other family members. Remember that the house cleaning service is not just for the rich and famous. Most cleaning services are more than willing to work with you. That permits everyone to make the most of this type of service.

Thank You For The Professional Domestic Cleaning by Any and Her Team

I would like to post a good comment for Any, her colleagues and the cleaning services they provide. I was very surprised to find so easy a responsible domestic company and so politely attitude. Nowadays, I am happy of the cleaning job well done.

The professionals, who have been in contact with us, were pretty quickly in organizing the cleaning process. I am glad that they have offered me a suitable domestic cleaning schedule, which fits perfectly around my own engagements.

I have shared with the team my requirements, which are important for me and my family and I really couldn’t believe that the results are so satisfied for me. I was very impressed of the fact that all of the things in my home were put back on their places.

I just want to say “thank you” for the efficient cleaning efforts and for the chance to come back home and rest after a long and tiring work traveling.